Friday, June 21, 2013

Transplant underway

So - I have completely dropped the ball on the blog.  Lots of updates:

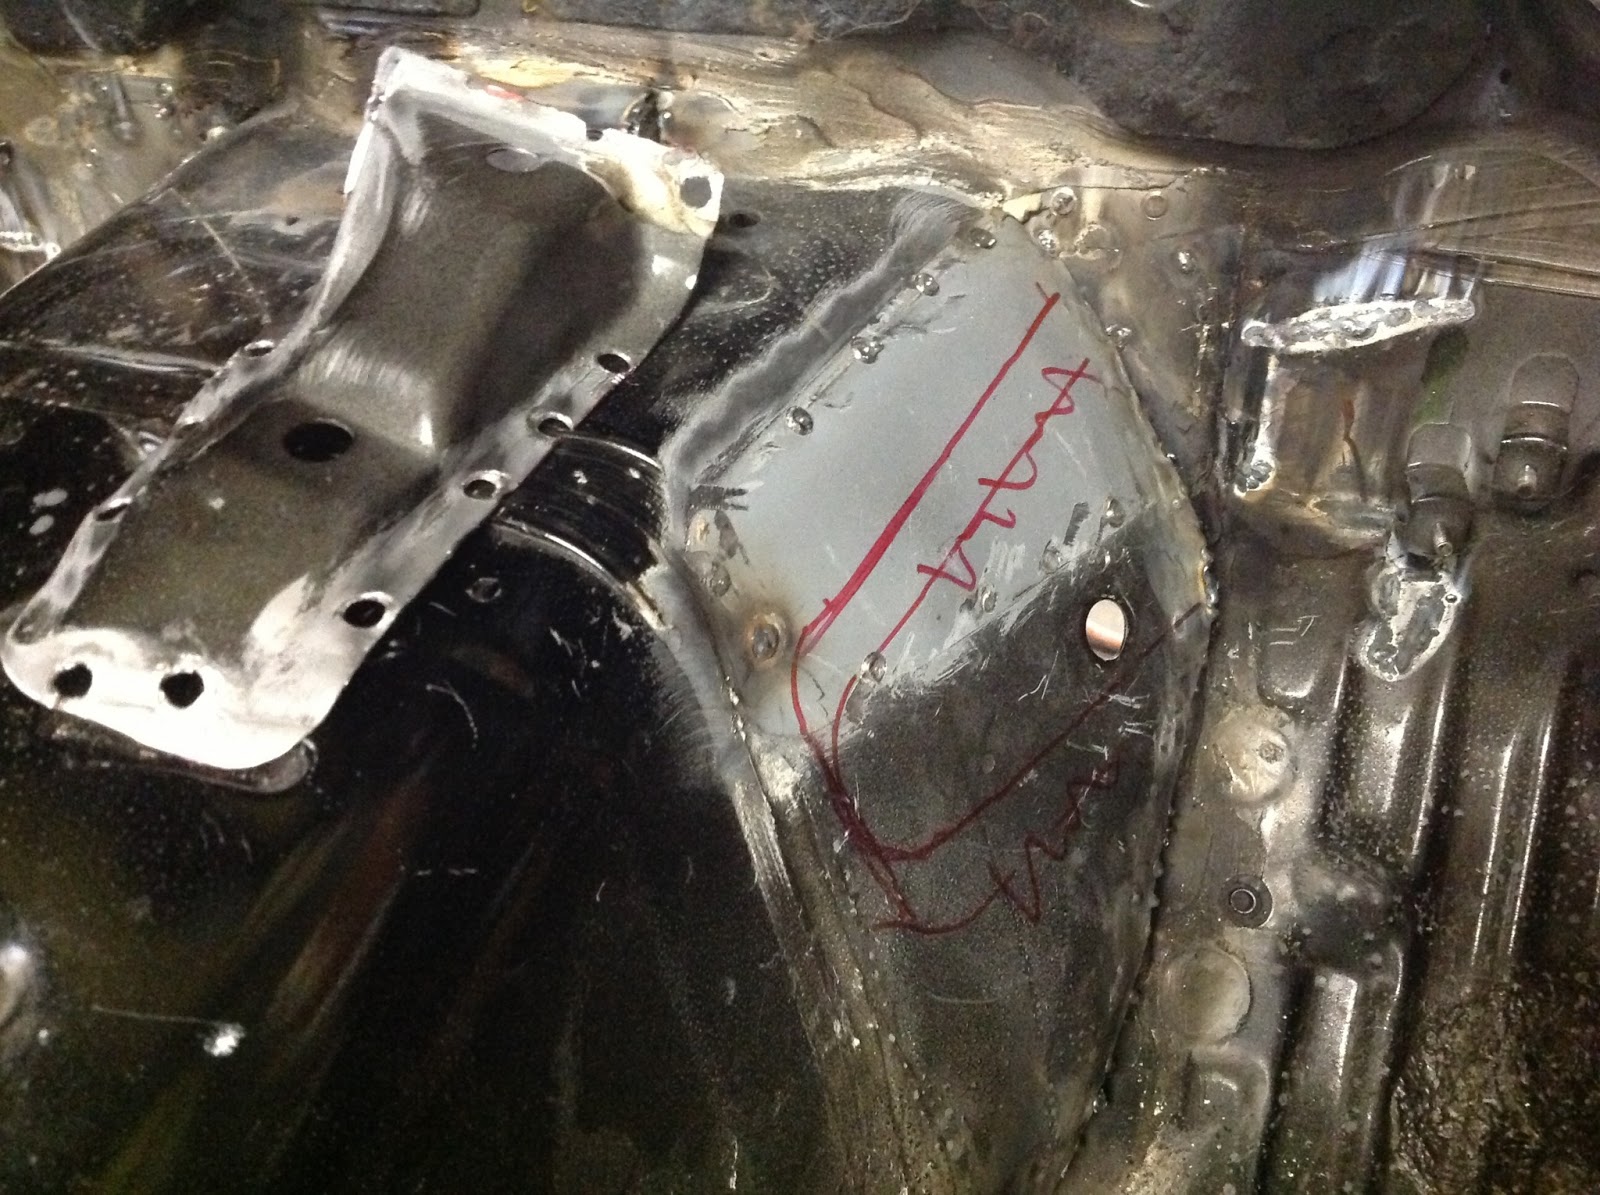
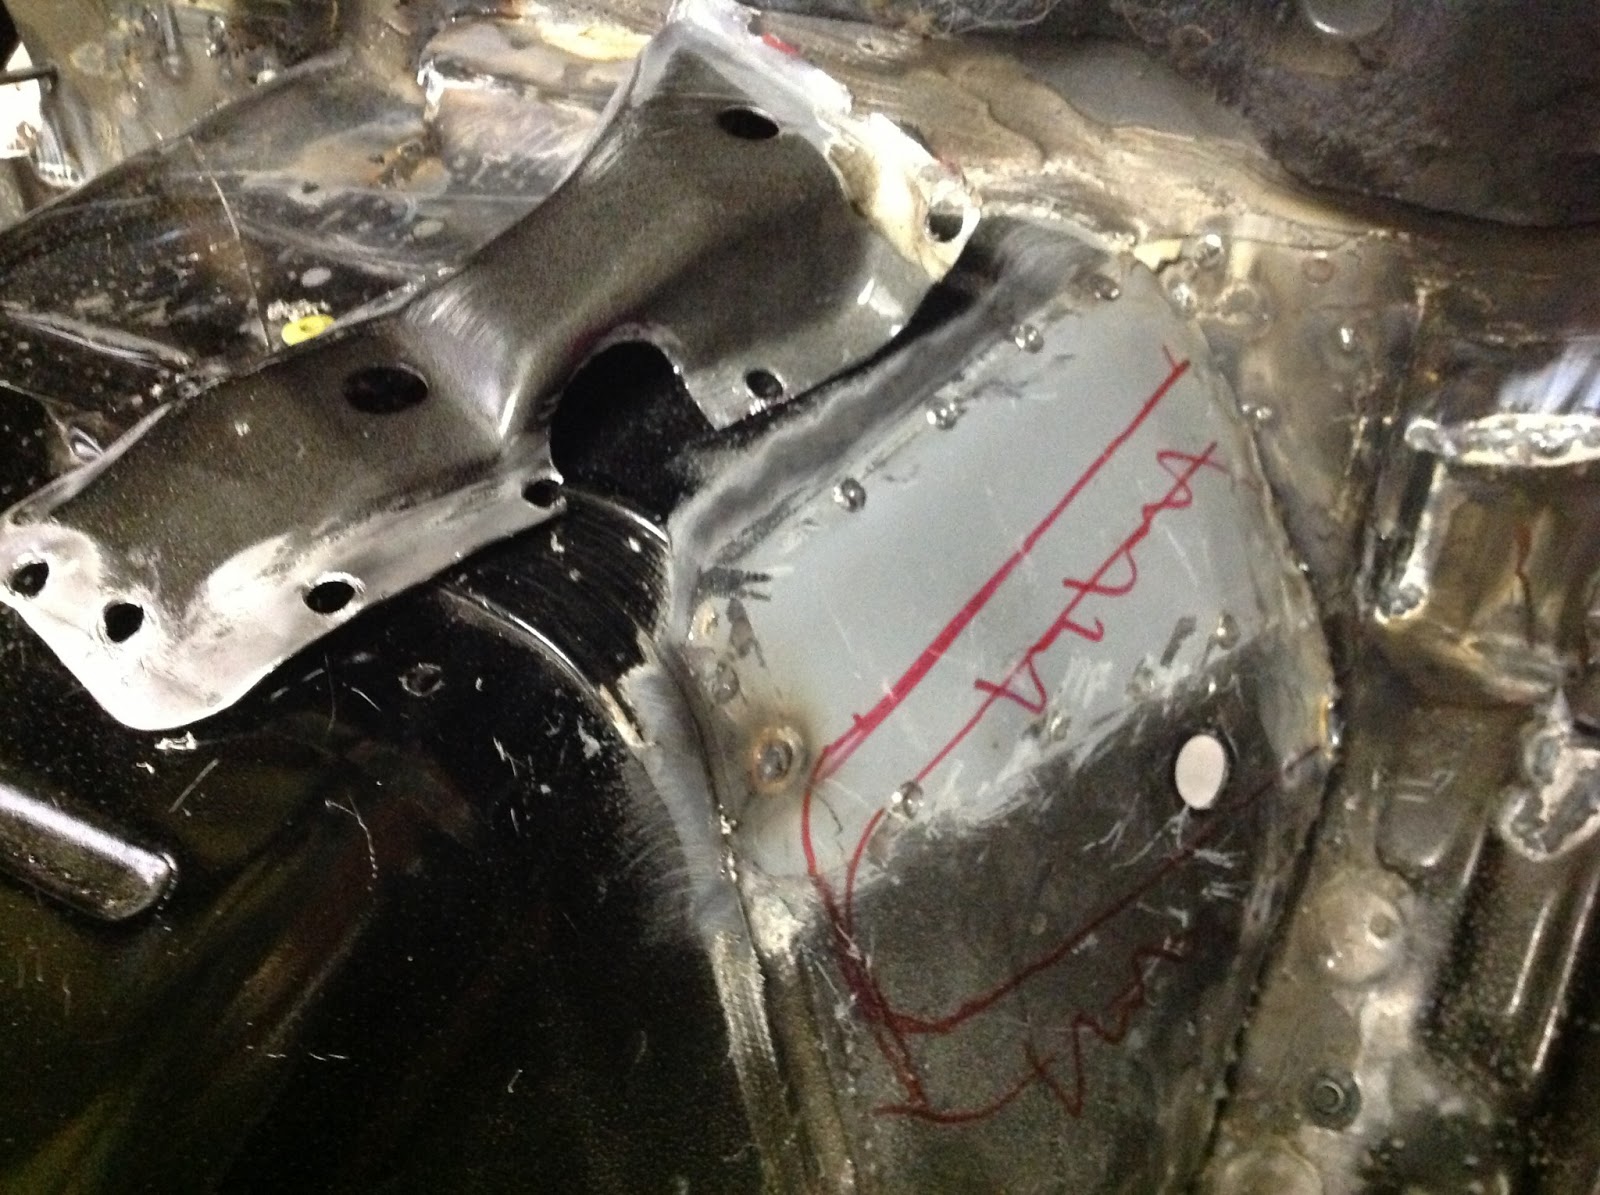
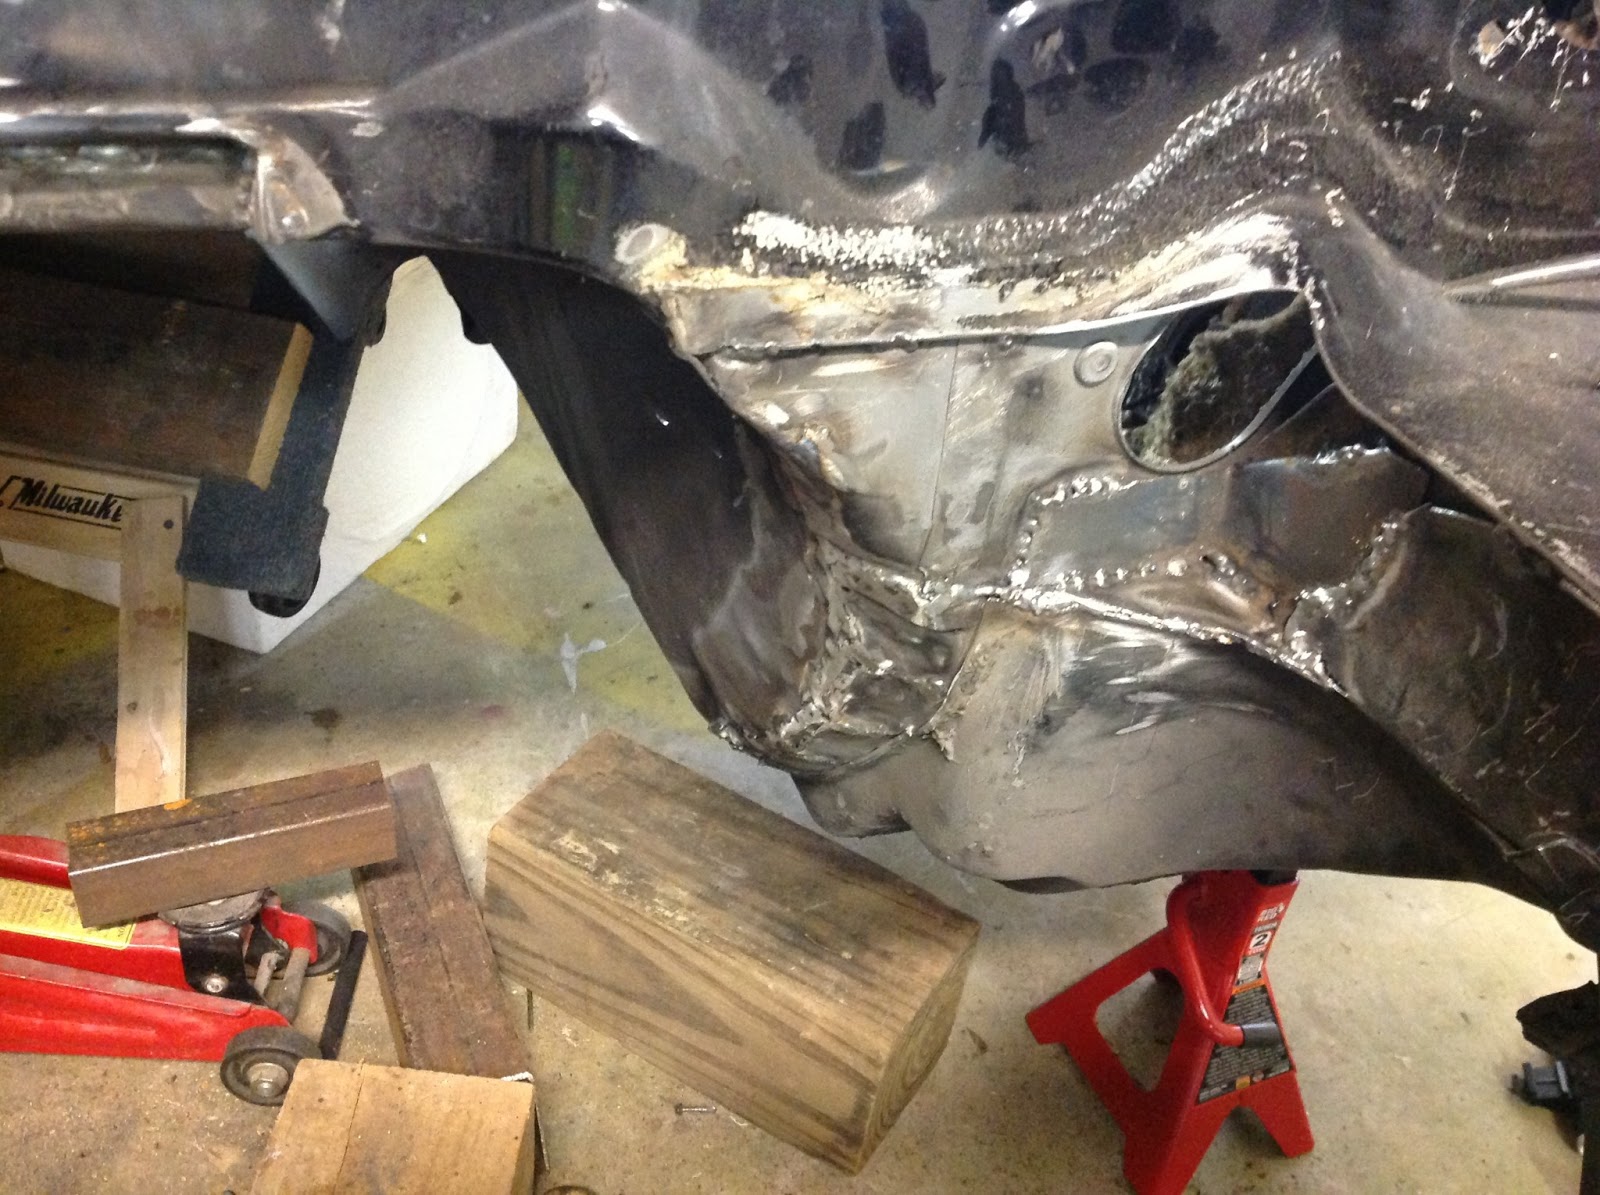
I finished most of the welding where I plan to anyway.


I wanted to include some additional heat dissipation, so I made my own heat shield spray.  I used a can of roofing elastomeric, mixed with ceramic beads that I got from a company in FL (NASA spin-off).  I used an undercoat gun from a previous project to apply it.  The results are pretty good, in terms of adhesion and look - however, it took like 2-days to completely dry.

I sprayed underneath the car, in the tranny tunnel and between the framerails.  I also applied it to the firewall inside and out, and the complete floor pan inside the car.  Under the hood, I masked off the area and only applied right behind the motor as I wasn't sure how the urethane paint would work with it - it seems to work pretty well - but the test will be with the heat.


As a backup - I installed some heat barrier padding and used aluminum tape to seal the seams.


I apparently forgot to take a picture of the engine bay empty and painted (thought I did), but anyway, I painted the engine bay black - I know, I know, I said I was painting it Blue, but I did not think I had the patients to change the car's color, given all that comes with it.  Then adding insult to injury in dealing with the govt and title issues, etc - just thought "A black roadster is pretty cool" - never owned a black car anyway...

The engine is mounted for good (I hope) and the wiring has been 90% completed, but still needs to be wrapped up and tucked away.  I sent my PCM off to be programmed (Missouri is the location - and I noticed somehow UPS routed it through Massachusetts? - how does that happen?).  I should have it back next week.  I had them delete VATS, Skip Shift and EVAP - provided the info for injectors, fuel rail, tire size, etc.

Emission compliance is the goal - but I may not make it happen.  All other functions should be operating to pass emissions, except this little jewel:
The Fuel level indicator logic that works in conjunction with EVAP.
I need to still work on the solution for the fuel level in the PCM - as it is part of the diagnostics, which may throw a DTC and prevent emissions from passing.  The problem is the PCM measures the resistance on the fuel gauge and if a change has not occurred with 79 miles of driving, the DTC occurs and the PCM defaults to empty.  So I can't just use a resistor on the signal, nor can I use the Miata fuel sending unit - as its signal is reversed/different resistance than the LS1.  Hopefully I'll find an electrical genius to help me figure out this conundrum...


Yes - it is a rat's nest right now - as I said, lots of work still in the details.

New radiator with fans mounted


So now I am working on mounting the frame rails to the car, after that, install the fuel line - and continue waiting on parts to arrive.  I decided on replacing the Koni shocks with the Vmaxx Extreme Track Pack coilovers from FlyinMiata - and will likely use the FM LBBK brake kit to finish it off.  I do have a full set of urethane bushings to install, once the coilovers arrive, I can tackle the suspension.


Saturday, June 8, 2013

More progress - no pictures

So I made some more progress, but did not take pictures.  I will once I put it back together again...

This business travel is really eating into my car building time - but, it pays the bills...  Travel again next week - Ugh!


  • I mounted the engine again and moved the radiator mounts forward to accommodate.
  • Installed the new Mishimoto Radiator, with dual fans in a puller setup (mock up only at this point).
  • Moved the A/C condenser mounting tabs forward (mock up).
  • Ordered a FM sway bar - we'll see what adjustments I need to make when it arrives
  • Removed the engine again
  • Fabbed up a shift lever for the stock T56 to mount the Miata shift ball
    • Used a piece of 3/16x1 bar stock, 3 1/2 inches long, drilled holes and welded a metric stud to it - painted it (all scrap stuff that I had laying around), so if it doesn't work out - nothing lost...
  • Stripped the Miata ECU wiring from the chassis wiring (praying I didn't totally screw something up).
  • Drilled hole in Firewall for the PCM wires to traverse - I am going to mount the PCM in the passenger floor (up front).  I will use a seals-it split firewall grommet to finish and protect the wires.


I am going to try a home-made lizzard skin.  1 gallon kool seal roofing elastomeric, with 1 QT ceramic spheres from these folks http://www.hytechceramics.com/

Back at it next week...  Pictures promised.

Sunday, June 2, 2013

A little more mods / fab

So I have to travel next week (business), so my goal was to get most of the firewall mods completed today.

I finished welding the firewall, made up some gussets for the frame rails under the hood and added the inside gussets back to the tunnel/firewall.

I put the evaporator coil back in the car to see how the gusset would fit with it installed.  There was no way the gusset was going back in the same spot on the tunnel.
After a couple of test fits, I decided this was the best location. 

You can see the modification to the gusset for the evap drain.


The driver's side went back in close to the original position - there was some modification on the top corner.  I still need to finish welding and do some serious grinding to clean it up...  Too tired to continue today and be worth a crap tomorrow.  I'll get after it next week.

Clearly the anti-corrosion dip or electroplate that Mazda does to these cars inhibits the welding process too.  I cleaned the metal very well, but it was still difficult to get a nice bead, without burning through - so lots of stitching was required.

Saturday, June 1, 2013

It fits!

So over the past couple evenings and most of the day today, I spent in the shop.   I made progress toward a major milestone - test fitting the engine.  And guess what - it fits!

I found the answer to my own question about the driver's side inside gusset and tunnel.  I removed the gusset as suggested, but was skeptical on the 2-inches of widening on that side, as 2-inches would put the tunnel into the accelerator pedal.  Overall, it is much less than the 2-inches - overall, I adjusted mine by 3/4 to 1-inch.

All that factory seam sealer is really a pain to deal with welding - but I managed to work through it and ended up with very solid supports.  I'll add seam sealer back over to seal it all in and dress it up a bit.


Driver's side - I added the accelerator back in to ensure full range of motion.  Yes - I got a little overzealous with the cut on the top of the tunnel - I will make the indention smaller and weld-up that extra length of cut. 

Passenger side tunnel - after I folded it all back on the other side, I used some self-tapping screws to secure it for welding.
And Viola!  It fits...  I have plenty of room around the bell housing and transmission.

Now time for burning some wire and grinding...  


For seam sealer - When I built my trailer, I used urethane sealer from Locktite - and it worked great.  It takes a few days to cure, but I have had ZERO issues with it.

Comment if you have any experience with this or other seam sealers that have worked well for you.