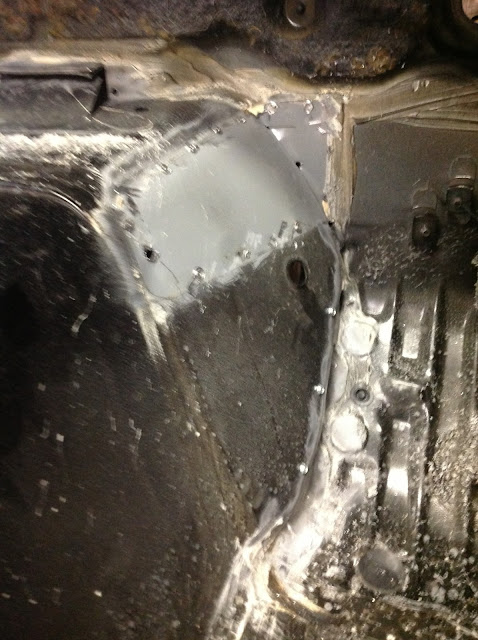
I found the answer to my own question about the driver's side inside gusset and tunnel. I removed the gusset as suggested, but was skeptical on the 2-inches of widening on that side, as 2-inches would put the tunnel into the accelerator pedal. Overall, it is much less than the 2-inches - overall, I adjusted mine by 3/4 to 1-inch.
All that factory seam sealer is really a pain to deal with welding - but I managed to work through it and ended up with very solid supports. I'll add seam sealer back over to seal it all in and dress it up a bit.
 |
| Passenger side tunnel - after I folded it all back on the other side, I used some self-tapping screws to secure it for welding. |
 |
| And Viola! It fits... I have plenty of room around the bell housing and transmission. Now time for burning some wire and grinding... |


I used PL S40 to seal mine up. We used to use that building boats and the stuff will set up under water and never let go!
ReplyDeleteYour build looks really good! Fun to see it all again too. I wish I would have been more skeptical on the 2" firewall instruction rather than to it twice. The bigger cut on top will be nice to have if you ever pull the trans with out pulling the engine. That top bolt into the bell houseing is mighty tight. Have a GREAT week!!